Plumbing Drainage Tips Before Installing a Concrete Backyard Patio
Reading time: 8 minutes
Table of Contents
- Why Drainage Planning Comes Before the Concrete Truck
- Locating Hidden Plumbing Lines and Utilities
- Grading, Slope, and Water Flow Fundamentals
- Choosing the Right Drainage System
- Common Mistakes That Cause Flooded Patios
- Drainage Method Comparison
- Frequently Asked Questions
- Your Pre-Pour Drainage Roadmap
Why Drainage Planning Comes Before the Concrete Truck
Here’s the uncomfortable truth homeowners learn the hard way: concrete doesn’t fail because of bad mix ratios nearly as often as it fails because of bad water management. A 2026 survey from the National Association of the Remodeling Industry found that 67% of patio-related warranty claims trace back to drainage issues discovered within the first two years of installation—not cracking, not discoloration, but standing water, erosion beneath slabs, and water intrusion into basements.
Think of it this way: pouring concrete without a drainage plan is like building a house without checking where the roof will shed rainwater. The patio itself becomes a giant, impermeable lid over your yard. Every drop that used to soak into the soil now has to go somewhere, and if you haven’t decided where that somewhere is, gravity will decide for you—usually toward your foundation.
“Homeowners get excited about the finish—the stamped pattern, the color, the furniture layout,” says Marcus Whitfield, a licensed plumber and grading consultant based in Austin, Texas. “But the plumbing and grading work underneath is what determines whether that patio still looks good in five years or turns into a cracked, waterlogged mess.”
The Real Cost of Skipping This Step
Retrofitting drainage under an existing concrete slab is dramatically more expensive than doing it right the first time. Industry estimates for 2026 put slab removal and drainage retrofit costs between $18 and $32 per square foot, compared to $3 to $7 per square foot to install proper drainage infrastructure before the pour. For a modest 300-square-foot patio, that’s the difference between spending roughly $1,500 upfront versus $6,000+ later—not counting the disruption of tearing out a slab you just paid to install.
Locating Hidden Plumbing Lines and Utilities
Before anyone breaks ground, you need a clear picture of what’s already running beneath your yard. This isn’t optional groundwork—it’s the single most important safety step in the entire project.
- Call 811 (or your regional equivalent) at least 5-7 business days before digging. This free utility locator service marks gas, electric, and water lines. In 2026, most utility providers still recommend a minimum 3-day notice, but scheduling delays are common, so build in buffer time.
- Locate your sewer lateral and septic lines. If your home has a septic system, confirm the exact location of the tank and leach field. Concrete poured over or too close to a leach field can compact soil and cause system failure.
- Identify existing downspouts and sump pump discharge points. These are often overlooked, but they dump significant water volume that your new patio will need to redirect around, not toward.
- Check for irrigation lines. Sprinkler systems installed years ago are frequently forgotten and get crushed during excavation, leading to slow leaks that erode soil under the new slab.
Working With a Professional Locator
Even after a utility marking service comes through, private lines like irrigation and old drainage pipe from previous owners won’t show up on those maps. A ground-penetrating radar (GPR) scan, typically costing $300-$600 for a residential yard, is a worthwhile investment if your property has an unclear plumbing history or you’re working with an older home.
Grading, Slope, and Water Flow Fundamentals
Once you know what’s underground, the next question is: which way does water need to move once the concrete goes down? Most residential codes and best practices call for a minimum slope of 1/8 inch to 1/4 inch per foot, directing water away from the house and toward an approved drainage area—never toward a neighbor’s property, which can create legal disputes in most jurisdictions.
Picture a family in suburban Denver who installed a beautiful 400-square-foot stamped concrete patio in 2025 without adjusting the existing yard grade. The patio looked flawless for about eight months. Then spring runoff arrived, and because the slab was essentially level, water pooled against the back door threshold every time it rained. The fix required cutting a drainage channel through the finished concrete—a $2,800 repair that proper grading would have prevented entirely.
How to Check Your Current Grade
You don’t need expensive equipment to get a rough sense of your yard’s natural flow. A simple line level or a 4-foot builder’s level laid across stakes spaced 10 feet apart can reveal whether water currently pools near your foundation. If you notice moss, mineral staining, or soggy soil in specific spots, that’s your yard telling you exactly where problems already exist.
Choosing the Right Drainage System
Depending on your yard’s soil type, slope, and climate, you’ll likely need one or a combination of these systems integrated before the concrete pour:
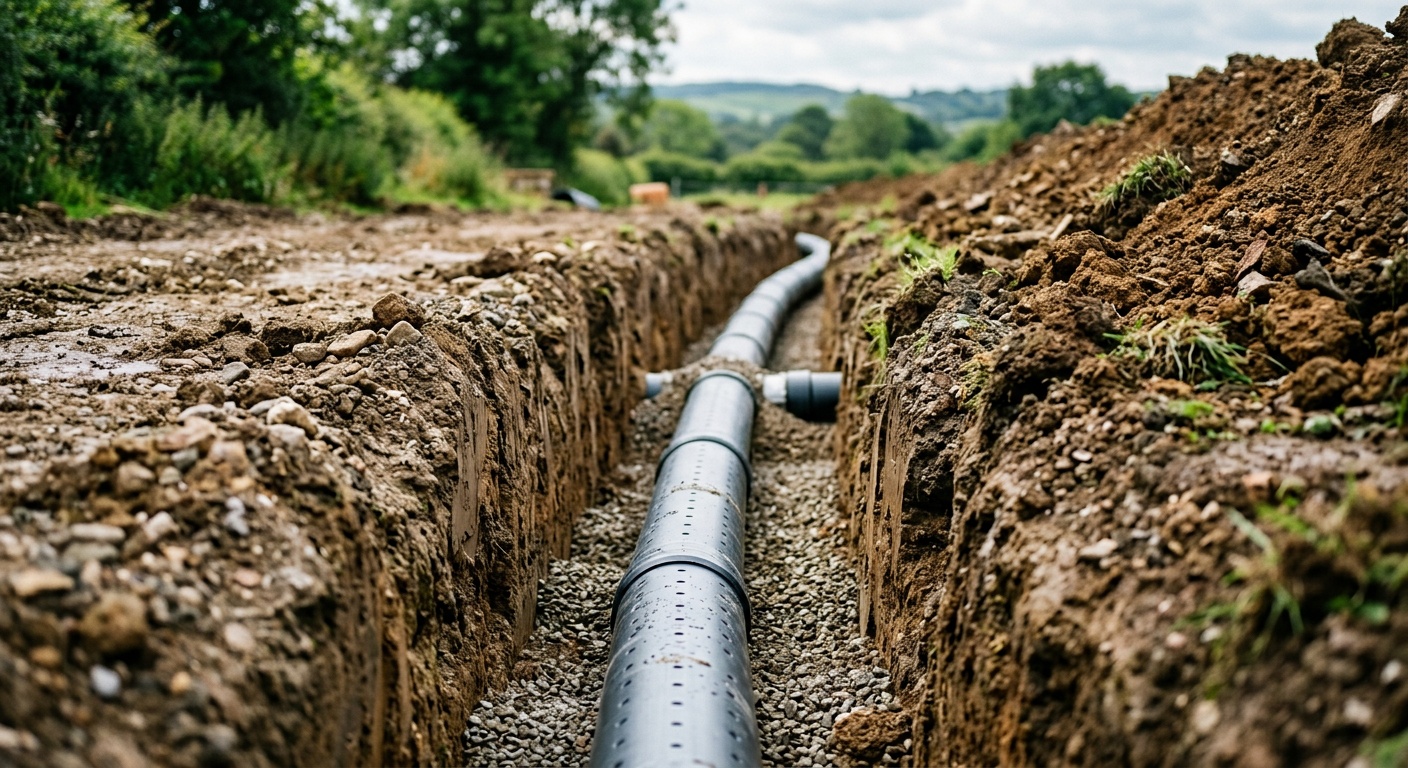
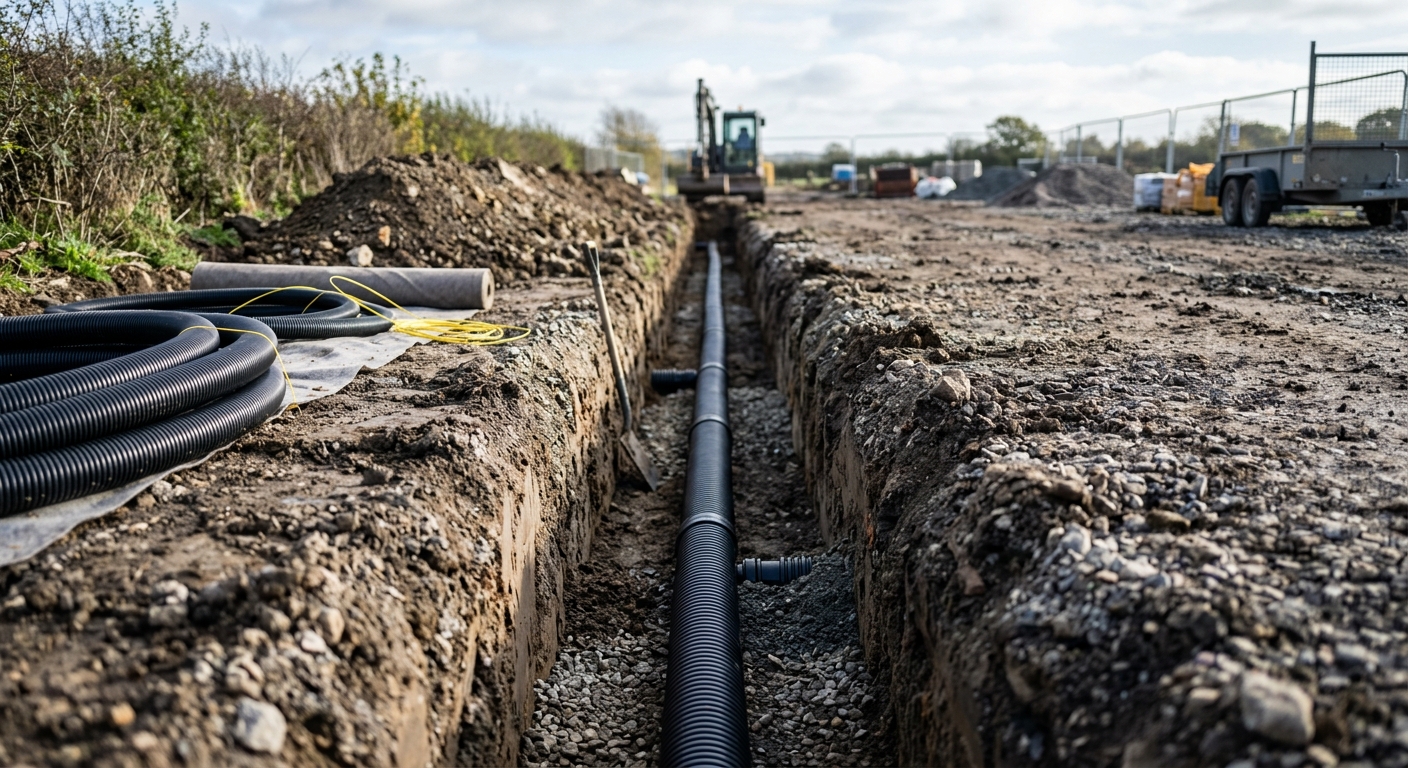
- French drains: Gravel-filled trenches with perforated pipe that redirect subsurface water. Ideal for clay-heavy soils that hold moisture.
- Channel drains (trench drains): Installed at the low edge of the patio to catch surface runoff before it reaches the house or a neighboring yard.
- Dry wells: Underground chambers that collect and slowly disperse water into surrounding soil—useful when there’s no convenient slope to daylight.
- Permeable joints or sub-base gravel layers: A 4-6 inch compacted gravel base beneath the slab allows some water to filter through rather than sheeting entirely across the surface.
Common Mistakes That Cause Flooded Patios
Even experienced DIYers repeat the same handful of errors. Here are the three that show up most often in plumbing inspection reports:
- Sloping toward the house instead of away. This sounds obvious, but it happens constantly on uneven lots where the installer eyeballs the grade instead of measuring it.
- Ignoring downspout discharge points. If a gutter downspout empties directly onto or near the new patio’s edge, you’ve just concentrated a huge volume of water in one spot with nowhere to go.
- Skipping the gravel sub-base. Pouring concrete directly onto compacted native soil, especially clay, traps moisture underneath, accelerating cracking and heaving during freeze-thaw cycles.
Drainage Method Comparison
| Drainage Method | Avg. Cost (2026) | Best For | Lifespan |
|---|---|---|---|
| French Drain | $12-$25/linear ft | Clay soil, subsurface water | 20-30 years |
| Channel Drain | $20-$40/linear ft | Surface runoff at patio edge | 15-25 years |
| Dry Well | $1,500-$3,500 total | Flat lots, no natural slope | 25-40 years |
| Gravel Sub-Base | $2-$4/sq ft | All installations (baseline) | Life of slab |
| Permeable Pavers (alt.) | $15-$30/sq ft | Eco-conscious, high-rain regions | 20-25 years |
Homeowner Priorities: What Matters Most in 2026
Recent contractor surveys give a useful snapshot of what homeowners actually rank as top concerns when planning patio drainage this year:
Frequently Asked Questions
Do I really need a permit for drainage work before pouring a patio?
In most municipalities, yes—particularly if you’re altering grading that affects stormwater flow onto neighboring properties or installing a dry well or French drain tied into an existing storm sewer connection. Requirements vary widely by city, so check with your local building department in 2026, since several regions have updated stormwater management codes in response to increased rainfall intensity.
How close can concrete be poured to a septic tank or leach field?
Most health departments require a minimum setback of 10 feet from a septic tank and even greater distances, often 20 feet or more, from an active leach field. Pouring concrete over or too near these areas can compact soil, restrict necessary gas venting, and block future access for pumping or repairs.
What’s the minimum slope I need for proper patio drainage?
Industry standard calls for at least 1/8 inch to 1/4 inch of slope per foot, directing water away from your home’s foundation and toward an approved discharge point like a lawn area, drain, or municipal storm system—never toward a neighbor’s yard.
Your Pre-Pour Drainage Roadmap
Concrete is permanent in a way that few home improvements are—you don’t get an easy do-over. So before the truck shows up, walk through this checklist:
- Call your utility locator service and schedule a private GPR scan if your property has an uncertain plumbing history.
- Map your yard’s current water flow during an actual rainstorm, not just with a level, so you see real-world behavior.
- Confirm setback distances from septic systems, sewer laterals, and property lines with your local building department.
- Select and install your drainage system—French drain, channel drain, or dry well—before the gravel sub-base goes down.
- Verify slope with a level after grading, not just by visual estimate, and confirm water drains away from the foundation.
As more regions face intensified rainfall patterns and stricter stormwater regulations heading into 2027, thoughtful drainage planning isn’t just a nice-to-have anymore—it’s becoming a baseline expectation for responsible homeownership. You’ve got one real shot at getting the groundwork right before that concrete sets for good. So, which part of your yard’s drainage plan are you still unsure about?